Common Problems Growing Anthurium Seeds
Anthurium Seedlings to Mature Plants
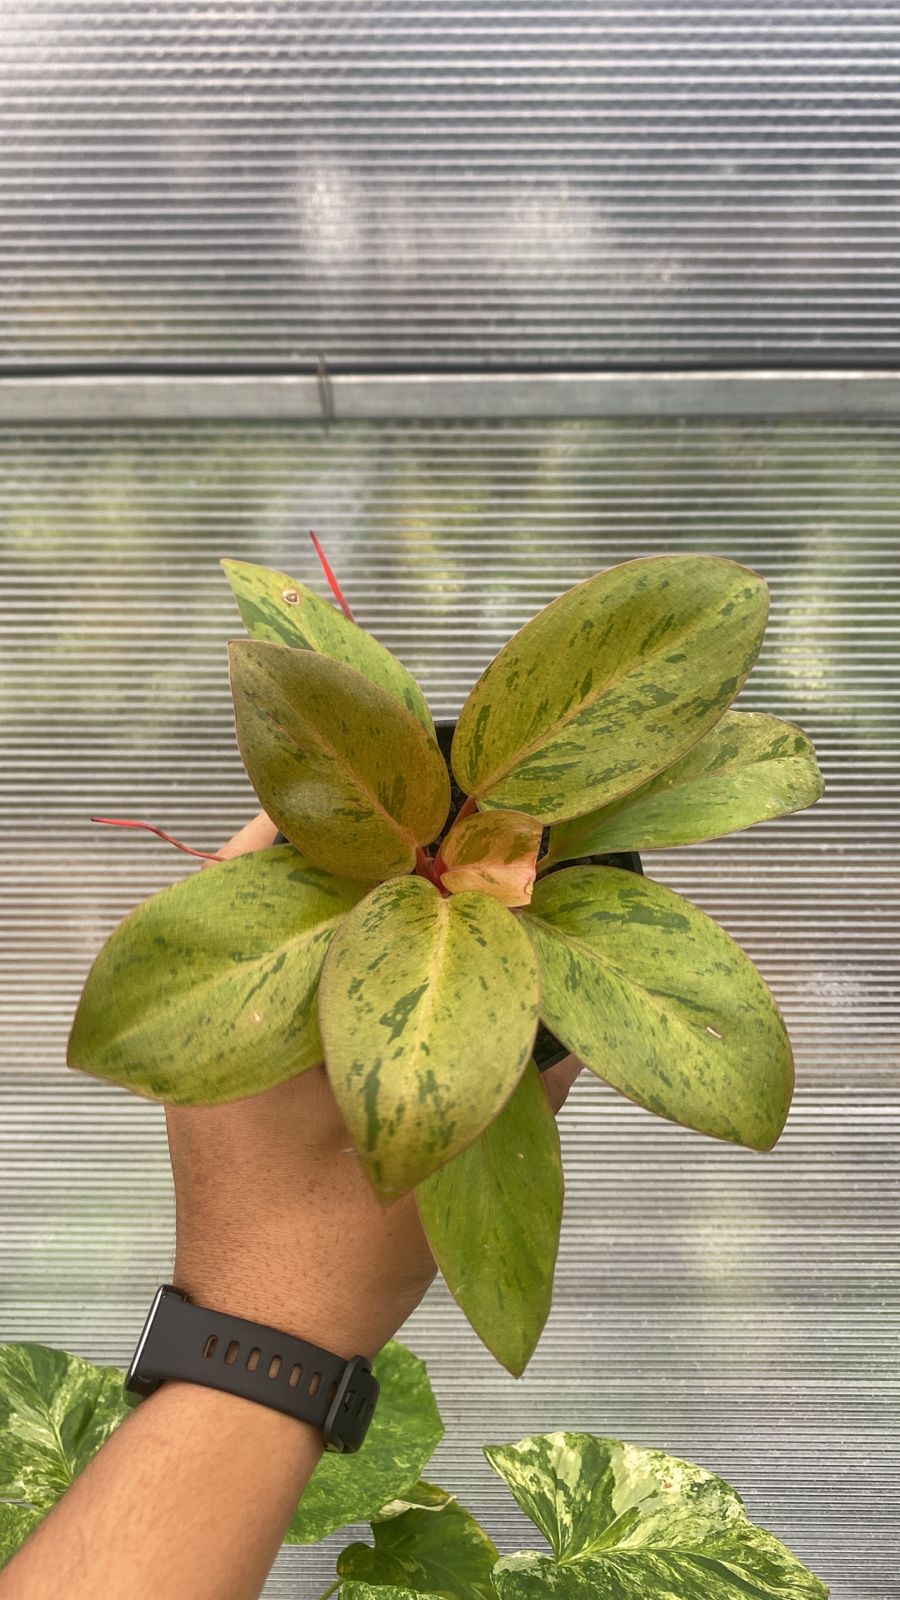
Once Anthurium seedlings are well-rooted, producing multiple leaves, and showing steady growth, it's time to start transitioning them into mature houseplants. This stage focuses on building strength, shaping structure, and encouraging healthy foliage. It’s a slow but satisfying process where proper timing and technique can greatly influence the final appearance and health of your plant.

7.1 When Are Seedlings Considered “Mature”?
A seedling is ready to be treated as a young plant when it shows:
- At least 3–5 healthy leaves, with some beginning to take on species-specific shapes
- A sturdy root system that fills the small pot
- Steady, visible new growth over several weeks
Note: "Mature" doesn’t necessarily mean flowering size—Anthuriums can take 1 to 3 years (sometimes longer for rare species) before they begin to produce flowers or mature foliage.
7.2 Potting Up to a Larger Container
When seedlings outgrow their initial pots:
- Choose a container one size up—for example, from a 2” pot to a 4” one.
- Use a chunky aroid mix, combining:
- 40% coco chips or orchid bark
- 30% coco coir or peat
- 20% perlite or pumice
- 10% charcoal or horticultural sand
- Gently loosen the root ball and place it at the same depth in the new pot. Avoid burying the crown of the plant.
After potting, wait 7–10 days before resuming fertilizing to avoid stressing the roots.

7.3 Training and Supporting Growth
To encourage a strong and aesthetically pleasing form:
-
Provide a moss pole or stake early if the species is vining or epiphytic. This allows roots to attach naturally and promotes upright growth.
-
Regularly rotate the plant to promote balanced leaf development and avoid leaning toward the light source.
-
If growth appears uneven or crowded, you can prune smaller leaves to redirect energy to the dominant shoot.
7.4 Adjusting Care for Maturing Plants
As the plant matures, its care needs shift slightly:
-
Watering: Increase slightly, but always let the top 2–3 cm of the soil dry before watering again. Larger roots require more oxygen.
-
Fertilizer: Move to ½ strength balanced fertilizer every 3–4 weeks, or use a slow-release option suitable for aroids.
-
Humidity: Maintain 50–70%, which is ideal for foliage quality without excessive moisture buildup.
Mature foliage is often more sensitive to environmental stress, so avoid placing the plant near AC vents, heaters, or drafty windows.

7.5 When to Expect Flowers or Signature Leaves
Patience is key—many Anthurium species take:
- 12–18 months for the first signs of mature foliage
- 18–36 months to produce blooms, depending on the hybrid or species
Certain types, such as Anthurium crystallinum or Anthurium clarinervium, may develop dramatic, velvety leaves before flowering. Others, like Anthurium andraeanum, are bred for earlier blooming.
Signs your plant is approaching flowering age include:
- Thicker petioles and stems
- Larger leaf span
- Slower, more deliberate growth rhythm
- Development of aerial roots

7.6 Common Challenges During Transition
As the plant moves into maturity, be alert for:
- Root rot – Often caused by compacted or poorly draining media. Repot into a chunkier mix.
- Leggy growth – Usually due to inadequate light. Increase indirect light intensity or move closer to a grow light.
- Stalled growth – Can result from stress, cold temperatures, or underfeeding. Evaluate the environment and feeding routine.
- No flowers? – That’s normal. Some Anthuriums prioritize foliage for years before blooming. Proper light, nutrition, and stability are key.
Successfully guiding an Anthurium from seedling to mature plant is a long but rewarding journey. Every new leaf brings your plant closer to its final form—whether that means showy flowers or striking foliage.
Tips for Success and Common Mistakes
Successfully growing Anthuriums from seed takes more than just patience—it requires consistency, attention to detail, and a good understanding of what these tropical plants need during their early stages. Whether you're a beginner or an experienced grower, applying the right strategies and avoiding common pitfalls can significantly improve your results.

8.1 Tips for Successful Growth
✓ Use only fresh seeds
Anthurium seeds lose viability quickly. For best results, use seeds within 5–7 days of harvest. If you’re buying them, ask the seller when they were collected.
✓ Maintain consistent humidity
Germination and early growth require high humidity—ideally between 70–90%. Use a humidity dome or sealed container to maintain moisture, especially in dry climates.
✓ Keep the growing medium clean and well-aerated
Sterilize your tools and containers before planting. Using well-draining, airy media like sphagnum moss or fine coco chips helps prevent fungal issues.
✓ Use gentle bottom heat
A seedling heat mat can maintain an ideal root zone temperature around 25°C (77°F), encouraging quicker germination and stronger early growth.
✓ Monitor growth stages closely
Track when each seed germinates and when it produces its first true leaves. This helps you identify weak performers and adjust care routines accordingly.
✓ Practice gentle acclimation
When transitioning seedlings from covered humidity environments to open air, do it gradually over several days to prevent shock or dehydration.
✓ Label everything
If you're growing multiple species or hybrids, label each container clearly. This helps track performance and ensures you know what you're caring for months later.

8.2 Common Mistakes to Avoid
✗ Overwatering
This is one of the most frequent errors. Anthurium seedlings are sensitive to soggy roots, especially in their early stages. Always let the surface dry slightly before misting or watering again.
✗ Using old or improperly stored seeds
Seeds that are dry, moldy, or stored in poor conditions often fail to germinate. Store seeds in a sealed, refrigerated container and use them promptly.
✗ Inadequate lighting
Too little light causes seedlings to stretch and become weak; too much can burn their leaves. Always use bright but indirect light or an adjustable grow light.
✗ Poor air circulation
Sealed humidity environments without any airflow can lead to mold or damping-off disease. Open your container daily or use vents to keep air moving gently.
✗ Transplanting too early
Moving seedlings before they’ve developed a strong root system or several leaves can stunt growth. Wait until they have at least 2–3 true leaves and established roots.
✗ Fertilizing too soon or too heavily
Young seedlings have delicate roots. Feeding them too early or with strong fertilizer concentrations can burn the roots and cause wilting or discoloration.
✗ Ignoring pests or disease symptoms
Even indoor seedlings can be affected by fungus gnats, spider mites, or fungal infections. Check leaves and soil regularly and act quickly if issues appear.

8.3 General Reminders
-
Patience is key: Anthuriums grow slowly from seed. Expect months—not weeks—before they resemble young plants.
-
Document your process: Taking photos or keeping a log helps you refine your technique and troubleshoot future problems.
-
Start with common varieties: If you're new to growing Anthuriums from seed, begin with faster-growing types like Anthurium andraeanum before trying more delicate species like crystallinum or warocqueanum.
By following these tips and avoiding the most common mistakes, you'll improve your success rate significantly and enjoy a more rewarding growing experience. The next and final section will cover long-term care and expectations for your seed-grown Anthuriums.

9. Long-Term Care and Expectations
After months of dedicated care, your Anthurium seedlings will begin transitioning into robust juvenile plants. While the hard part—germination and early establishment—is behind you, nurturing your plants through the next stages of growth requires continued attention and patience. Anthuriums are relatively slow growers, especially when started from seed, so understanding their long-term needs will help you keep them healthy and thriving for years to come.
9.1 Growth Timeline and Maturity
Anthuriums grown from seed typically follow a slow and steady growth path:
-
3–6 months: Seedlings develop multiple true leaves and establish strong root systems.
-
6–12 months: Plants begin to show the first signs of species-specific leaf shapes and growth habits.
-
12–24 months: Depending on the species and care, some Anthuriums may begin producing mature foliage or the first inflorescences (flowers).
-
24–36+ months: Plants reach full maturity, with regular blooming in flowering types or dramatic foliage in decorative species.
Keep in mind, certain species like Anthurium warocqueanum or Anthurium veitchii may take several years before showing full-size leaves or blooming.

9.2 Light Requirements for Mature Plants
As your Anthuriums mature, lighting becomes even more important for optimal leaf color, shape, and flowering:
-
Bright, indirect light remains ideal. Avoid direct sun, which can scorch mature leaves.
-
Grow lights may be used to supplement natural light, especially in low-light homes or during winter months.
-
Monitor leaf color and shape—dark, rich green foliage indicates good lighting; leggy growth or pale leaves may signal insufficient light.
9.3 Watering and Humidity for Long-Term Health
Mature Anthuriums develop thicker roots and stems but still prefer a tropical environment:
-
Water when the top 2–4 cm of soil is dry. Overwatering is still a risk, especially in larger pots with excess moisture retention.
-
Use rainwater or filtered water if your tap water is high in minerals, which can cause leaf spotting over time.
-
Maintain humidity around 60–70% to encourage large, lush leaves. If growing in drier climates, consider:
- Room humidifiers
- Pebble trays
- Grouping plants together to boost micro-humidity

9.4 Nutrient Needs of Mature Anthuriums
Feeding a mature Anthurium properly supports strong foliage and regular flowering:
-
Use a balanced or foliage-focused fertilizer (e.g., 20-20-20 or 10-5-20), diluted to half strength every 3–4 weeks during active growth seasons.
-
For flowering types, switch to a bloom-boosting formula (higher in phosphorus) when buds begin forming.
-
Flush the potting media every few months with clean water to prevent salt buildup from fertilizers.
9.5 Repotting and Root Management
Anthuriums prefer to be slightly root-bound but will eventually outgrow their containers:
- Repot every 12–18 months, or when roots circle the pot or grow from the drainage holes.
- Move up one pot size at a time, using a chunky, fast-draining aroid mix.
- Inspect roots for rot or pests during each repotting, trimming damaged parts if needed.
9.6 Pest and Disease Monitoring
Even with ideal conditions, mature Anthuriums can be affected by pests:
- Common threats: Spider mites, thrips, mealybugs, and scale.
- Preventative care: Keep leaves clean by gently wiping with damp cloths. Avoid overcrowding plants and maintain good airflow.
- Treatment: Use neem oil sprays or insecticidal soap at the first sign of pests. For severe infestations, isolate the plant and consider systemic treatments.
Fungal issues like leaf spot or root rot are usually caused by excess moisture—adjust watering and improve air circulation if you notice signs.

9.7 Expectations for Blooms and Foliage
Depending on the species, long-term rewards can include:
- Colorful spathes and spadices in flowering varieties like Anthurium andraeanum
- Dramatic, velvety leaves in foliage types like crystallinum, magnificum, or forgetii
- Pendulous or corrugated foliage in unusual species like warocqueanum or veitchii
Be aware that not all Anthuriums bloom readily indoors—some prioritize foliage, while others need more time or environmental cues like light cycles and temperature drops to initiate flowering.
9.8 Keeping Plants Attractive Over Time
To keep your mature Anthurium looking its best:
- Remove older, yellowing leaves regularly to redirect energy to new growth.
- Wipe dust off leaves to maximize photosynthesis and maintain appearance.
- Consider training climbing varieties on a moss pole or trellis to encourage upright, compact form.
With proper long-term care, your seed-grown Anthurium can thrive for years—becoming a centerpiece of your indoor garden or a treasured specimen in your collection. Watching a plant grow from seed to full maturity is not just satisfying—it also deepens your connection to the natural growth process and the rewarding patience that plant cultivation requires.