
How to Propagate Monstera deliciosa from Stem Cuttings
A healthy Monstera deliciosa can become a substantial indoor vine, which is wonderful until its long stem needs pruning, the plant outgrows its space, or you want to establish another specimen. Propagation gives you a way to turn a suitable stem section into a new plant. The critical word is stem: one attractive Monstera leaf is not necessarily a viable cutting.
To propagate Monstera deliciosa, choose a healthy stem section containing at least one node and a viable growth bud, cut with a clean tool, place the node in a suitably moist, aerated rooting environment, and transfer the cutting when it has enough healthy roots to establish. Water, perlite, and other propagation media can all work when handled carefully. None makes an unsuitable leaf-only piece capable of producing a new shoot.
This guide follows the decisions that matter in a real home: identifying plant parts, deciding what to cut, selecting a rooting environment, responding to a slow cutting, and establishing a new plant without repeatedly disturbing young roots. It distinguishes useful observation from rigid calendars and addresses recently purchased or shipped plants, which may need recovery before they are divided.
Before cutting, identify the actual Monstera
The familiar split-leaf Monstera deliciosa belongs to the aroid family, Araceae. It is a climbing plant, not a true philodendron, even though the names are confused in trade. Younger specimens can produce smaller, solid leaves while established vines produce larger, more divided leaves. The plant's stem, rather than the shape of an individual leaf, is the practical focus of propagation. A leaf from a mature plant can be impressive but will not establish a new vine without a suitable stem node.
Other plants sold as Monstera, including Monstera adansonii, also have nodes and climbing stems, but species-specific growth habits differ. Avoid treating a generic tutorial for any perforated leaf as proof of the technique or timing for your individual plant. The University of Minnesota Extension's Monstera propagation guide identifies a viable node and axillary bud as essential for M. deliciosa. That is the foundation for the method explained here.
A basic distinction also prevents unnecessary disappointment: propagation grows a new individual from living tissue, whereas merely keeping a detached leaf green in water is temporary display. A leaf might remain fresh for some time by absorbing water, but without a functioning shoot-forming point it cannot become a self-renewing Monstera vine.
Node, internode, petiole, and aerial root: which parts matter?
Look down the vine rather than across a leaf. The node is the stem region associated with a leaf attachment and an axillary bud. The internode is the stem length between adjacent nodes. The petiole supports the leaf blade and attaches it to the stem. An aerial root is a root emerging from the stem, often near a node; it may help the plant anchor to a surface and can be helpful when a cutting begins rooting, but it is not a substitute for a growth bud.

On an older vine, nodes may be concealed by dry sheaths, overlapping petiole bases, old ties, or roots. Examine the stem gently from different directions and do not confuse a petiole's slight swelling with a complete section of stem. If you cannot locate a node, wait before cutting. A premature cut can leave you with a decorative leaf and a needlessly damaged parent plant.
An existing aerial root can be long, short, or absent. It might be brown and firm or lighter near its growing end; color alone does not establish health. A robust aerial root can give an otherwise viable cutting a head start, but a healthy node without one can still root. Conversely, a detached leaf that happens to carry a piece of root is not necessarily capable of growing a new stem if no viable node is attached.
Decide whether the parent plant is ready
A vigorous parent is a better starting point than a plant already struggling. Look for a firm stem, reasonably hydrated leaves, living roots, and evidence that the growing point has remained active under current conditions. Inspect leaf undersides and stem junctions for pests. Suspected root rot, severe dehydration, recent chilling, or substantial shipping damage should be addressed before elective pruning.

Recently imported plants deserve particular restraint. Their root systems may be adapting after bare-root transport and changes in humidity or light. Producing a second stressed plant by dividing the original immediately is rarely a useful shortcut. Give the mother plant time to establish in a clean, ventilated rooting environment and resume growth, unless a damaged stem must be removed to prevent further loss.
Choose a time when you can provide steady light, warmth, and regular observation over the following weeks. Calendar season matters less than actual indoor conditions. A heated room with adequate light may support establishment when outside conditions are cold; a dark windowsill beside a draft will not. Do not cut solely because a social-media timeline suggests that a Monstera should root within a certain number of days.
Choose a cutting type that fits your goal
A top cutting retains the vine's active tip. It can be visually satisfying because it already contains an established growth direction, but it may have a large leaf area and therefore substantial water demand before its roots develop. A middle cutting or stem segment includes one or more nodes without the original apical tip. It must activate an axillary bud to make a new shoot, so leaf production can appear slower even when rooting is progressing.
A single-node section uses little parent material and can be economical for an established collection, but it offers less margin if its lone bud or tissue becomes damaged. A multi-node cutting offers more potential sites for rooting and growth while taking a larger piece of the parent. No cutting type guarantees success. The decision should reflect tissue condition, number of buds, leaves available to support photosynthesis, and whether you can stabilize the cutting without burying a leaf base.
Do not assume the most expensive-looking leaf makes the best propagule. A small, green, firmly attached leaf on a sound node may establish more reliably than a huge damaged leaf on a weak stem. For variegated plants, preserve enough green tissue to support the cutting and inspect the node's position; the color of a detached leaf does not guarantee that future growth will match it.
Prepare a clean workstation and tools
Set out sharp pruners or a clean blade, a stable work surface, a rooting vessel or small pot, a suitable medium, labels, and water. Clean cutting tools between plants, particularly if one has displayed suspicious lesions or decline. Sharp blades limit crushing. Use a container that you can sanitize and inspect easily, rather than a decorative vessel whose interior remains opaque and difficult to clean.
Before making the cut, decide where the node will sit in the rooting setup. In a water vessel, the node or developing root region should contact water while the leaf blade stays above it. In a porous medium, the node should contact the appropriately damp medium but not be smothered in a deeply waterlogged pocket. If the cutting is heavy, plan a stake or a steady container before you start, not after the young roots have formed.
Mark the intended cut point on the internode below the chosen node, leaving a practical section of stem for positioning. Do not cut through the bud itself or slice away the growth point in an effort to make the piece tidier. A cut that leaves little viable tissue can be difficult to manage even in otherwise ideal conditions.
How to take a Monstera stem cutting
First, locate the chosen node and bud and check that the section above it is healthy. Stabilize the stem with one hand and make a clean cut below the node with the other. Avoid dragging or tearing the vine from an attached moss pole; carefully release ties and any embedded aerial roots instead. If a root cannot be removed safely without breaking it, reconsider where the cut will be made or how the section will be supported.
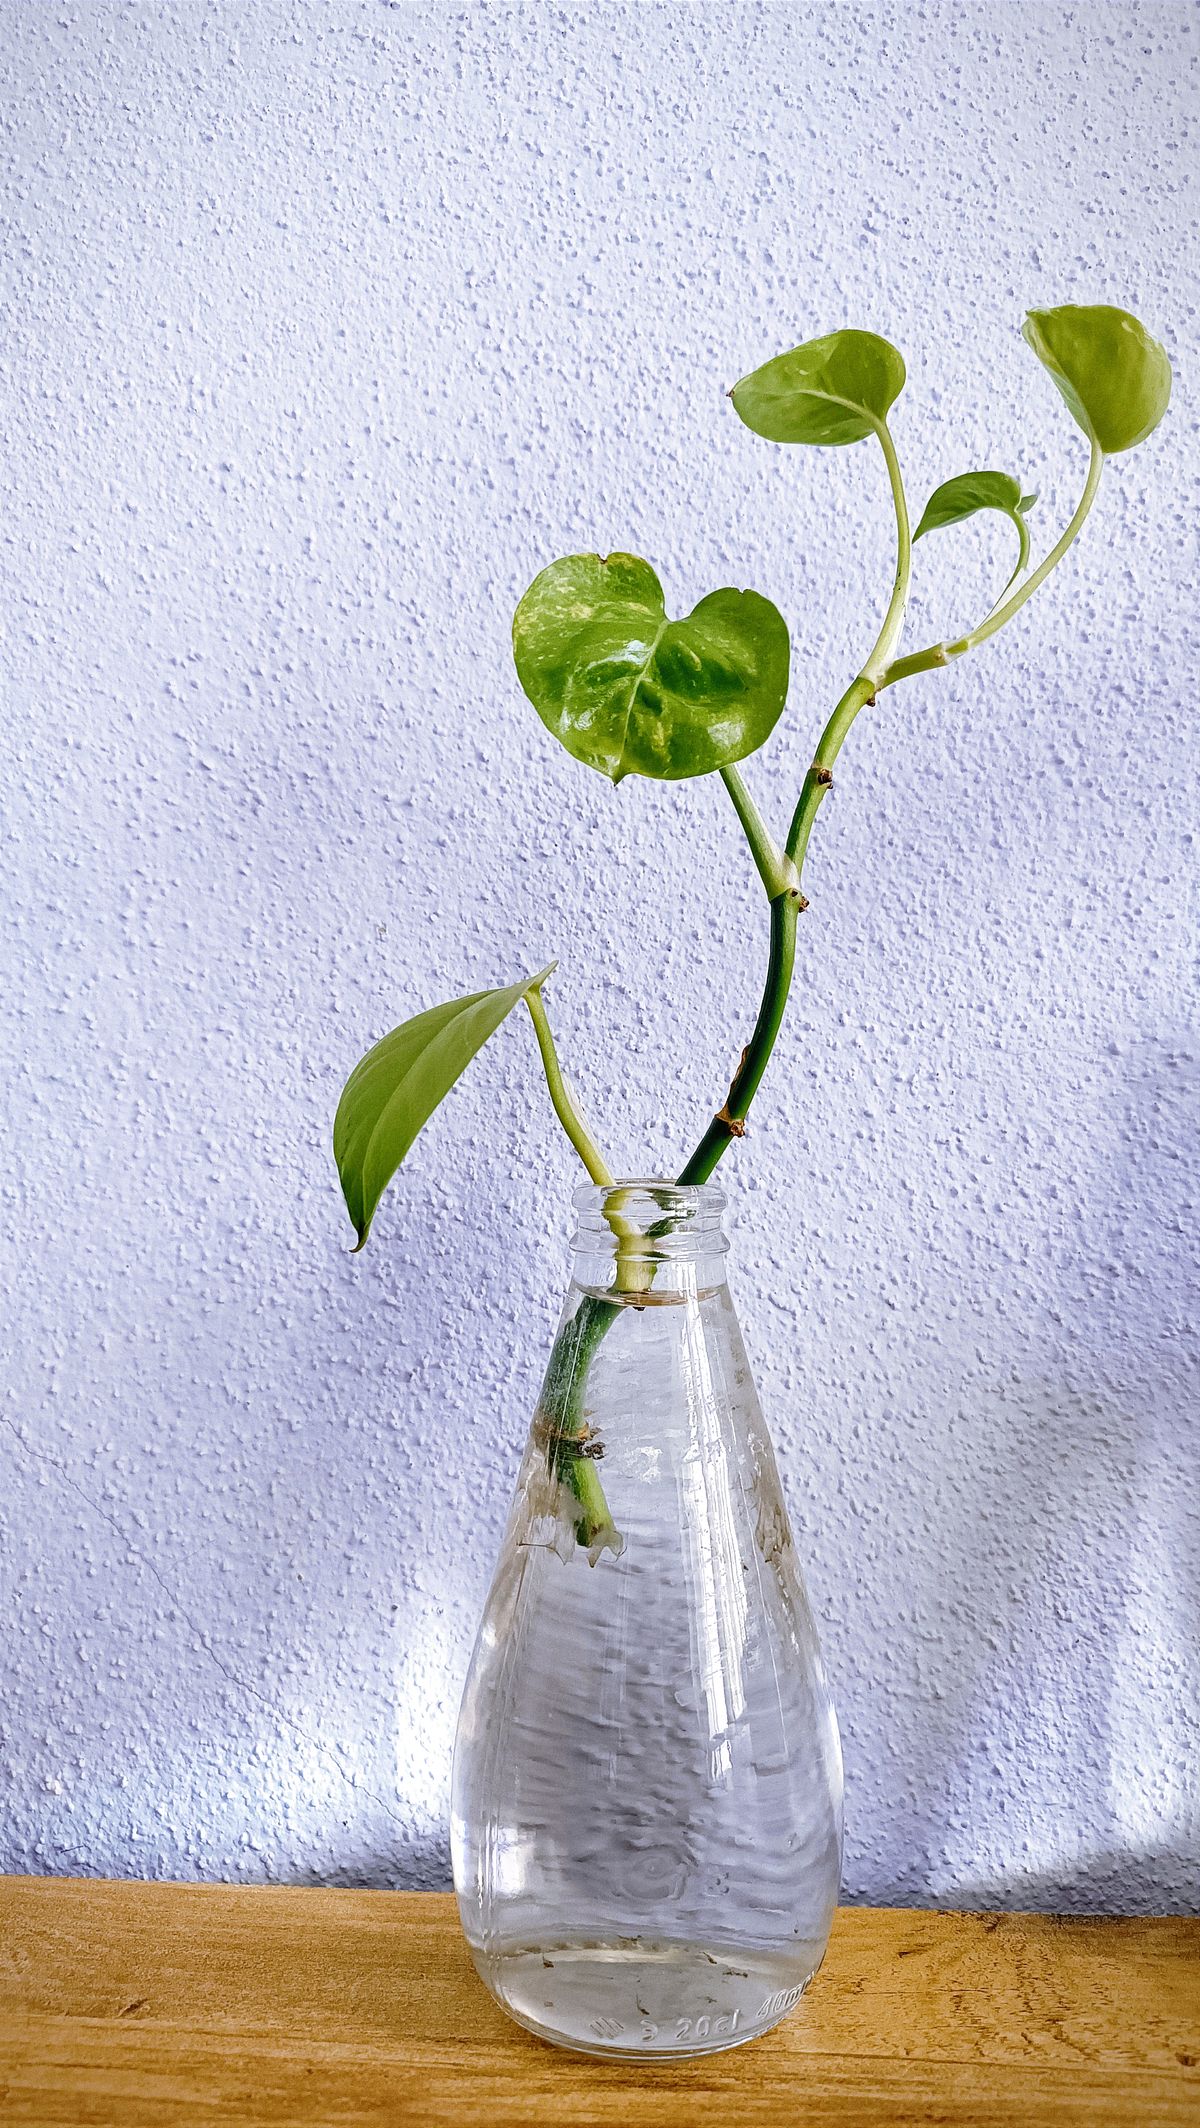
Examine the cut surface for firm, healthy tissue rather than a collapsed or mushy interior. An abnormal dark, wet, or foul-smelling section merits cutting back to sound material where that is possible without sacrificing the node, and reassessing the parent plant for disease. Remove a leaf only if necessary to reduce crowding or keep tissue out of the water; indiscriminate leaf stripping reduces the remaining photosynthetic surface.
Label the cutting if you are propagating more than one plant. Record when it was taken and where it will root. Put it in the chosen environment promptly rather than leaving it to dry for an arbitrary extended period. Unlike some succulent leaf cuttings, the goal is not to turn a tender aroid stem into a callused, dehydrated object before rooting begins.
Water propagation: what it does well and poorly
Water gives you a clear view of emerging roots and lets you notice discoloration or cloudiness without unpotting the cutting. Use a clean container and enough water to cover the intended rooting region, not the entire stem and leaf bases. Position the vessel where there is bright, indirect light, stable indoor temperature, and no intense sun heating the glass.
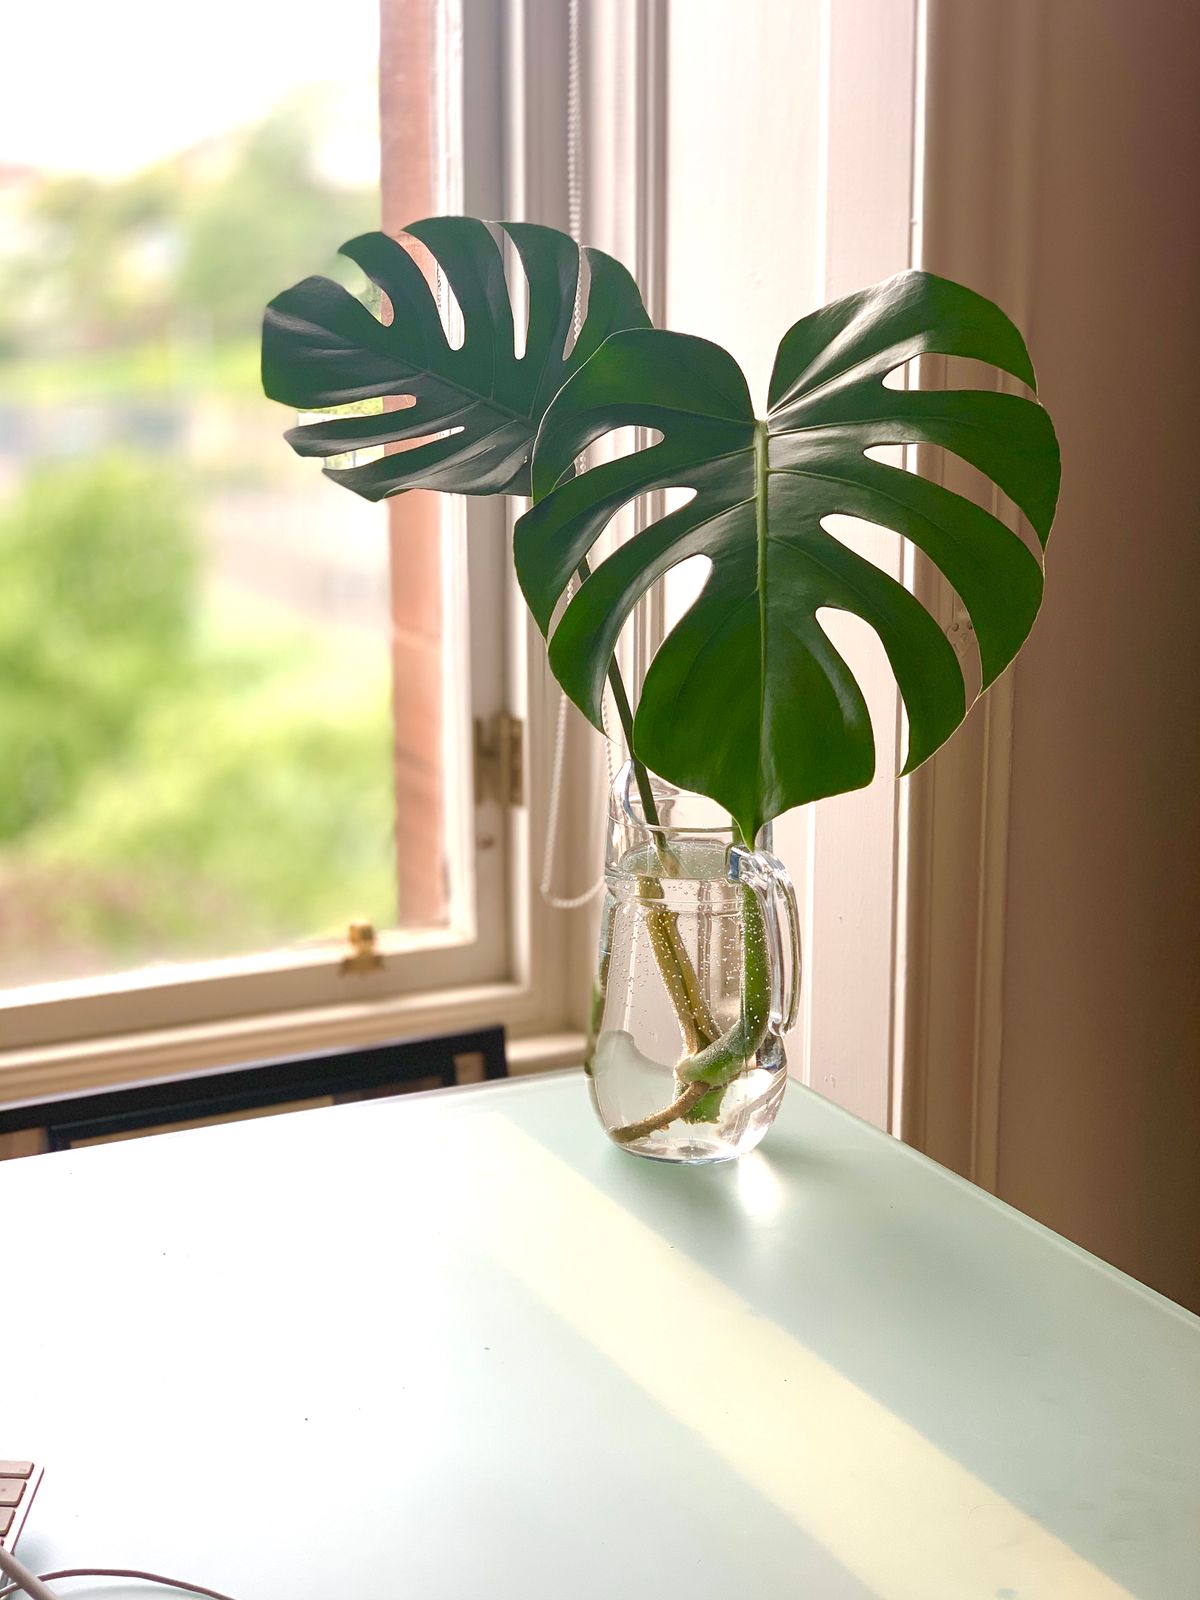
Replace water when it becomes cloudy or unpleasant-smelling, and inspect the cut surface without scrubbing delicate new roots. Clear water does not guarantee that every root is healthy; compare texture and growth. Firm developing roots and a stable node are encouraging. A slimy, collapsing stem is not, even if an aerial root remains intact. Do not expect a newly cut vine to behave like a fully established hydroponic plant simply because both are held in water.
When you later move a water-rooted cutting into potting medium, its water-formed roots must adjust to different oxygen and moisture conditions. Handle them gently, settle them into the medium without forcing them into a tight knot, and provide consistent but not saturated moisture during establishment. Root development can be visible before a new leaf appears, which is one reason judging success solely by the shoot is misleading.
Perlite and airy media: supporting roots while they develop
Perlite, an airy propagation blend, or a lightly moist sphagnum-based setup can support the node and permit a useful balance of moisture and oxygen. Minnesota Extension specifically describes perlite, potting media, water, and expanded clay as workable options for Monstera propagation. The most effective choice is one you can manage consistently, not a brand advertised as a guaranteed rooting accelerator.
Wet the medium thoroughly, allow excess liquid to drain, and place the node where it makes secure contact without compressing the surrounding material into an airless mass. A transparent nursery pot or container with drainage can help you see moisture patterns and new roots. If sphagnum is used, aim for damp, springy fibers rather than tightly packed saturated strands. Do not place the leaf blade or soft petiole base beneath decomposing organic material.
Moisture should be assessed by feel, container weight, and the condition of the medium—not by a rigid daily schedule. The surface may dry sooner than the interior. A large cutting may need support to prevent its node from shifting whenever someone checks it. Never pull a cutting straight upward every day to see whether anything has happened; that destroys fragile tips just as they begin to branch.
Compare methods before deciding
Water is convenient for visibility and quick checking, but requires a clean vessel and a thoughtful transition into a long-term potting environment. Perlite or an airy mix supports the cutting and can resemble the moisture-and-oxygen balance it will experience after potting, though developing roots are not always easy to view. Sphagnum provides moisture contact around irregular nodes but can become too dense or wet when compressed. Expanded clay offers a reusable physical structure but needs appropriate watering management.
Do not compare two cuttings under different light, temperature, node condition, and leaf area, then credit their differing progress entirely to the medium. The plant tissue you start with is an enormous part of the outcome. A rotten node will not be rescued by moving the same piece into every material in turn; a healthy node can sometimes succeed with more than one sensible method.
Pick one setup, label it, and give the tissue a stable recovery window. Switch only when there is a concrete problem, such as stagnating water, persistent saturation, stem decay, or an unstable cutting. Repeatedly changing medium introduces handling stress and makes it harder to identify what actually improved or worsened the situation.
Light, temperature, and humidity while rooting
A cutting has leaves capable of photosynthesis but few functioning new roots. Bright, indirect light supports its energy requirements without imposing the strongest midday heat and water loss. Avoid a scorching pane of glass or a cold window frame. Monitor the leaf for ongoing dehydration and the node for continued firmness. Persistent collapse is a reason to investigate, not automatically to add water.
Warm, steady indoor conditions generally favor tropical aroid growth. An unheated porch or drafty garage may delay rooting and increase decay risk even when the medium appears moist. A light plastic cover or propagation enclosure can help reduce transpiration, but trapped moisture combined with poor airflow may encourage fungal problems. If condensation is heavy and persistent, adjust ventilation and avoid keeping foliage pressed against wet surfaces.
Humidity is a supporting factor, not a replacement for a working root system. Equally, blasting an unrooted cutting with fertilizer does not create the missing roots. Let the cutting establish before beginning modest feeding based on the new medium and observed growth. Keep the cutting away from pets and small children who may chew the plant; many aroids contain irritating calcium oxalate crystals.
Know the difference between rooting and new shoot growth
The earliest encouraging sign may be the swelling of a root tip or the appearance of short new roots around a node. A middle cutting might root before its bud breaks. Minnesota Extension notes that new leaves can take considerably longer to form than the first roots. Thus, a leaf that stays green without producing a new leaf for several weeks is not automatically a failure.

Do not mistake an aerial root's increase in length for proof that an axillary bud is alive. Rooting and shoot formation are related but distinct. Look for a firm node, a plump or emerging bud, and new growth over successive observations. Record changes in a photograph or note rather than relying on memory from one impatient inspection to the next.
The reverse can also happen: an existing shoot may temporarily appear active while the cutting still lacks a root system sufficient to support itself. A leaf starting to unfurl does not guarantee the plant can tolerate immediate exposure to harsher light, a large pot, or prolonged drying. Maintain a gentle establishment routine until both roots and new aboveground growth are reasonably stable.
Transfer the cutting into its first pot
Wait until there is a useful network of healthy roots that can hold the cutting and access moisture, rather than moving it at the first tiny root tip. The exact root length needed is not universal; root number, branching, cutting size, and medium determine how secure the move will be. Use a modest container with drainage and a well-aerated potting mix suited to indoor aroids.
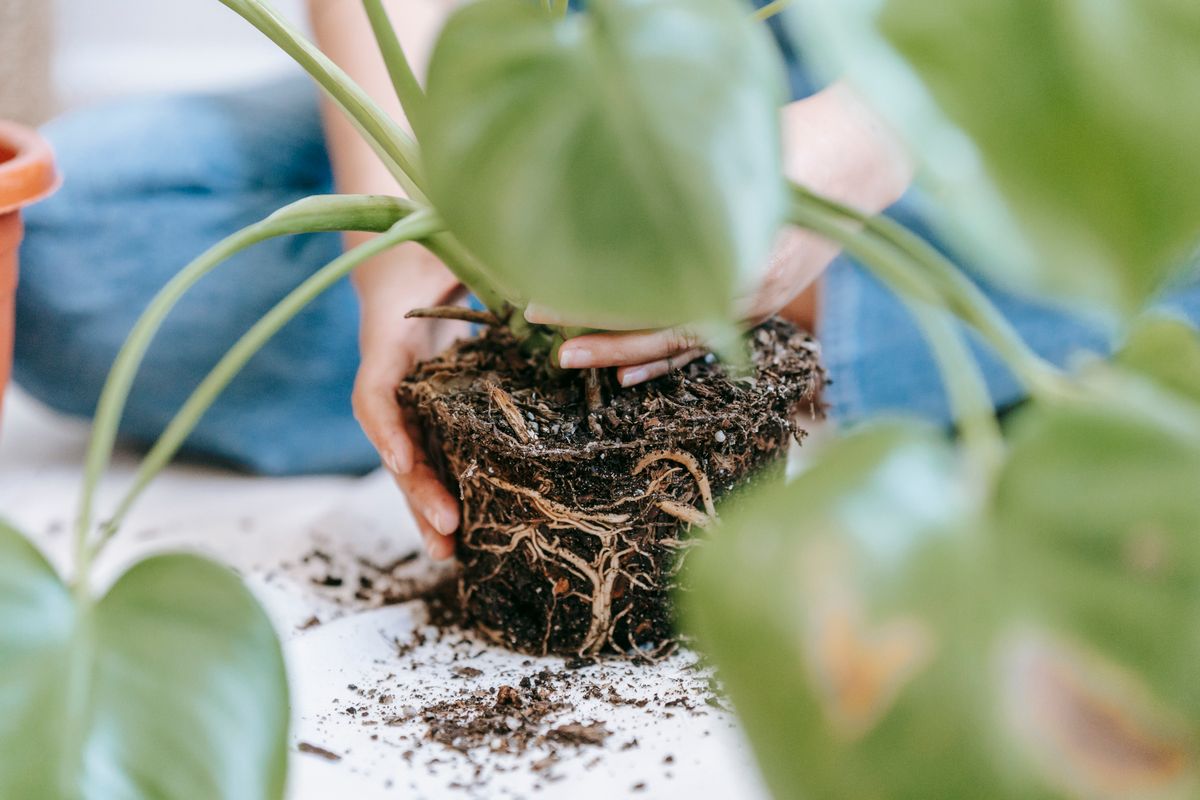
Place the cutting so the node and roots are supported and the leaf's petiole does not remain buried in persistently wet material. Backfill gently around roots rather than pushing them down with force. If the cutting is top-heavy, install support now and fasten the vine loosely. Water thoroughly, let the excess drain, and ensure the saucer is not left holding standing water around the base.
In the early establishment period, monitor moisture more frequently because a modest root network may dry differently from a mature plant. At the same time, keep oxygen available. Avoid a huge pot chosen only to match the future size of the plant: the uncolonized volume can remain wet longer than its roots can use. Build up pot size gradually as the plant develops a substantial root system.
Troubleshooting: node stays firm but nothing changes
A firm, stable node with no visible new root or leaf may simply need more time. Consider whether light is adequate, whether the medium is consistently damp without being saturated, and whether the temperature is appropriate. Middle cuttings often have to activate a dormant bud; their rhythm need not match a tip cutting with an active apex.
Inspect for physical damage only when observation suggests a problem. If the node has been buried too deeply, reposition it carefully so it can breathe. If the water is cloudy or the medium smells sour, refresh or replace the environment while handling roots as little as possible. If the cutting keeps drying despite a damp node, reconsider leaf area, nearby heat, and humidity before supplying additional fertilizer.
Avoid the temptation to recut an apparently healthy node repeatedly. Every cut reduces the available stem and creates another wound. Similarly, do not scrape off the bud to see whether it is green inside. Preservation of living tissue is usually more valuable than performing an unnecessary test for the satisfaction of immediate certainty.
Troubleshooting: the stem is soft or the leaf yellows
One yellowing older leaf can accompany stress and does not diagnose root rot on its own. However, a soft, collapsing node, foul odor, or visibly disintegrating tissue warrants action. Remove the cutting from the suspect rooting environment, check what firm tissue and viable buds remain, clean the vessel, and start again with healthy material when available. A node that has completely decayed cannot be made viable through treatment of the surrounding water alone.
Differentiate dehydration from failed root function. A cutting can look thirsty when its stem and roots have become too damaged to take up moisture. More frequent watering in such a situation can worsen the problem. By contrast, a sound cutting in very dry air may benefit from lower evaporative demand and a more consistent environment. Inspect the tissue before choosing an intervention.
Watch for mealybugs, scale, or other pests on the parent and propagation area. Keep suspicious material separate from the main collection. If leaf spotting, deformity, or decline persists, consult a local extension service or qualified plant diagnostician rather than treating every symptom as a propagation mistake.
Questions growers ask before taking a cutting
Can a Monstera leaf root without a node?
A leaf-only piece may remain hydrated, and in some cases tissue can behave unexpectedly, but it should not be sold or relied upon as a viable way to produce a new Monstera shoot. For dependable vegetative propagation, include a living stem node and growth bud. A petiole is not equivalent to a node.

Does every cutting need an aerial root?
No. An aerial root can be helpful, but the essential consideration is a healthy node with the capacity to root and resume shoot growth. Aerial-root length alone does not measure cutting quality.
Is water always faster than perlite or sphagnum?
No reliable universal ranking applies to every home. Source plant vigor, cutting size, light, warmth, and root-zone oxygen can influence the result. Choose a manageable environment and assess new tissue rather than relying on a promised completion date.
Can I propagate a plant immediately after international shipping?
Consider its current condition first. Roots and leaves may be recovering from transport and repotting. Unless removing damaged material is necessary, allowing the imported plant to regain stability before elective cutting is generally the more conservative choice.
Why are there roots but no new leaves?
Root formation and bud activation do not always happen together. Monitor whether the node remains firm and the axillary bud is viable. Slow top growth alone, especially in a middle cutting, does not prove failure.
The decision that matters most
Identify a real stem node, start with healthy living tissue, and choose a rooting environment you can keep moist and aerated. After that, observe roots and buds instead of chasing an arbitrary timetable. A careful cutting with a preserved growth point and a patient establishment plan has a practical path to becoming a durable new Monstera; a beautiful leaf without its stem does not.
